All images © 1990-2024 Stampin’ Up!®
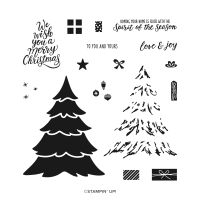
Merriest Trees Photopolymer Stamp Set
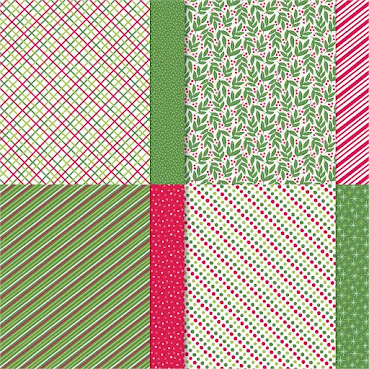
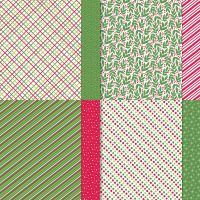
Take a Bow Designer Series Paper
Measurements:
Basic White Thick cardstock: 11” x 4 1/4”, score at 5 1/2” (cut 2)Basic Black cardstock: 3 7/8” x 5 1/8” (cut 2)
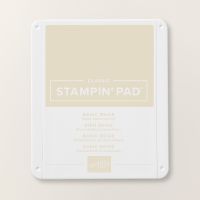
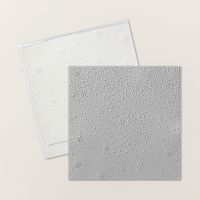
Basic Beige cardstock: 3 3/4” x 5”, embossed with the Snowflake Sky 3D Embossing Folder, 2 1/2” x 1/2” for sentiment
Basic White cardstock: 3 1/2” x 4 1/2”, plus scrap for sentiment
Take a Bow DSP: 1 1/4” x 5” strips (cut 4)
Instructions:
- Attach the DSP strips to a scrap of paper 4” x 5”. Trim the panel to 3 3/4” x 5”.
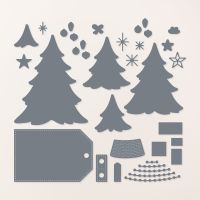
- Die cut the largest tree from the center of the DSP panel. Keep both pieces.
- Stamp the tree onto the piece of Basic White cardstock using Basic Beige Ink. Attach to the back of the DSP panel, so that it shows through the opening.
- Attach the DSP panel to one piece of Basic Black cardstock and adhere to the card base.
- Attach the Basic Beige cardstock to the remaining Basic Black cardstock, and then to the remaining card base. Adhere the die cut tree to the center.
- Stamp the longer sentiment onto the strip of Basic Beige cardstock and attach with Stampin' Dimensionals to the card front with the DSP panel.
- Stamp ‘Love & Joy’ onto the scrap of Basic White cardstock. Die cut with the second to smallest banner die, lining up the stamped sentiment towards the left. Remove the die and reposition so the right side of the die is positioned at end of the stamped sentiment, leaving the same distance as at the other end. Run through the Stampin’ Cut & Emboss Machine again. Attach to the remaining card with Stampin' Dimensionals.
- Die cut two stars from gold foil and attach to the top of the trees with a small amount of Multi-Purpose Liquid Glue.
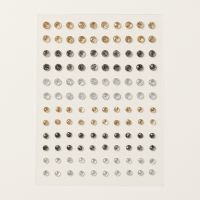
- Embellish with Adhesive-Backed Sparkle Gems.
Product List












.jpeg)

.jpeg)


.jpeg)


No comments:
Post a Comment