All images © 1990-2024 Stampin’ Up!®
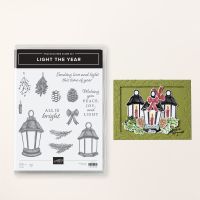
Light the Year Bundle
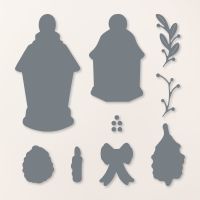
Transform your holiday crafts with the Light the Year Dies! Design stunning die-cut lanterns and customize them with bows, candles, pinecones, and more. Layer your die-cut pieces and pair them with festive Christmas greetings to make your creations truly unique. Perfect for adding a personal touch to your holiday season!
Measurements:
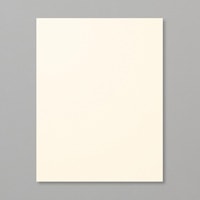
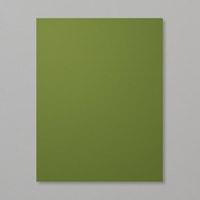
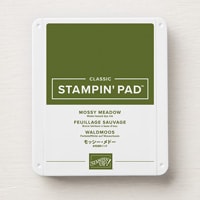
Very Vanilla cardstock: 8 1/2” x 5 1/2”, score at 4 1/4", scrap - circle, 15/16” x ½” - sentimentMossy Meadow cardstock: 5 ¼” x 4 1/8”, 3 1/8” x 5/8”- sentiment
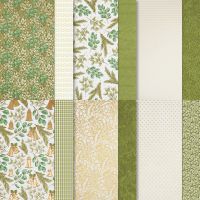
Seasons of Green and Gold DSP: 5 ½” x 4”
Seasons of Green and Gold DSP: 5 ½” x 4”
Instructions:
- Adhere the piece of DSP to the large piece of Mossy Meadow cardstock and adhere to card base.
- Die cut the ¾” Deckled Circle from the scrap of Very Vanilla cardstock. Adhere to the card base as shown with Multipurpose Liquid Glue.
- Stamp the candle from Light the Year stamp set in Gray Granite ink onto the deckled circle. Cut the loop off the lantern.
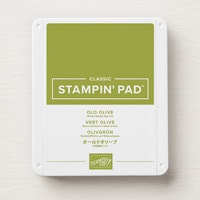
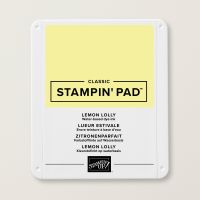
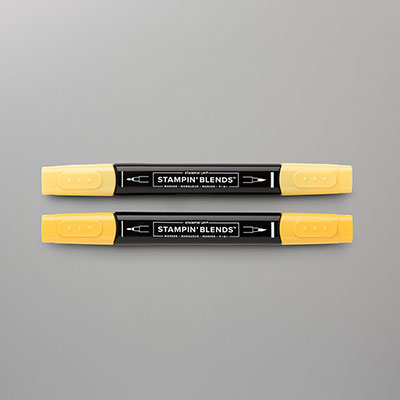
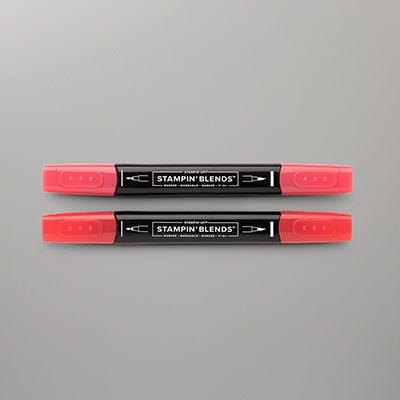
- Color the lantern with Poppy Parade & Daffodil Delight Stampin Blends. Using Blending Brush and Lemon Lolly ink to color in the lantern.
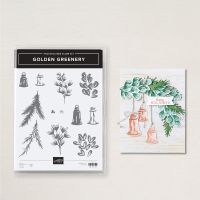
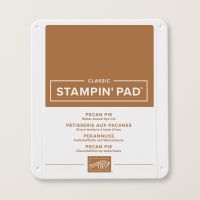
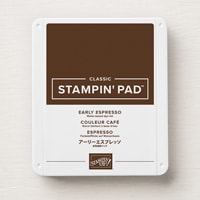
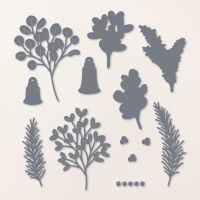
- Stamp the remaining pieces from Light the Year and Golden Greenery stamp sets: ribbon in Real Red ink, pinecones in Pecan Pie and Early Espresso ink and pine boughs in Mossy Meadow and Old Olive ink as shown in photo. Die cut all pieces.
- Layer and glue pieces as pictured starting with the candle.
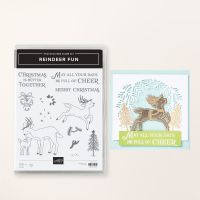
- Using Real Red Ink stamp the sentiment on scrap of Very Vanilla cardstock using the Reindeer Fun stamp set. Cut out a Mossy Meadow back for the sentiment and adhere together.
- Adhere sentiment with Stampin’ Dimensionals.






.jpeg)

.jpeg)


.jpeg)


No comments:
Post a Comment