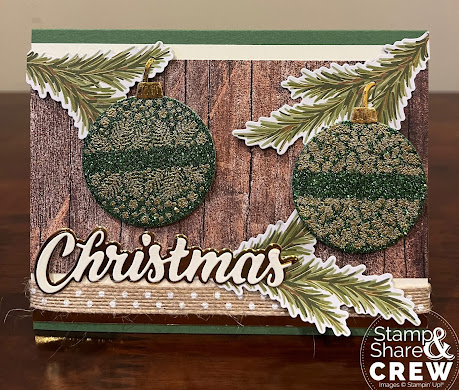
Get ready for the festive season with our Hang an Ornament Stamp Set and Dies! Personalize your crafts with beautiful sentiments and ornament images. Perfect for monochromatic or multicolor projects, and ideal for adding texture with heat embossing. Create stunning pop-out cards that transform into ornaments for your tree.
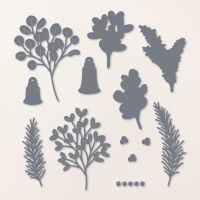
Craft berry leaf, label, and ornament designs to add elegance to your festive projects. Perfect for layering or creating interactive cards that surprise with warm Christmas wishes. Get creative and spread the joy!
All images © 1990-2024 Stampin’ Up!®
Hang an Ornament Stamp Set
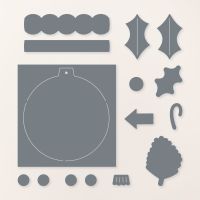
Hang an Ornament Dies
Measurements:
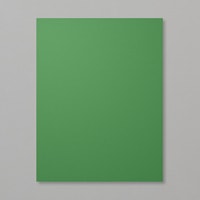
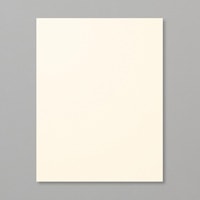
Garden Green cardstock: 5 ½ x 8 ½”; Scored at 4 ¼” for card base and foldedVery Vanilla cardstock: 5 ¼” x 4” for inside; 5 ½” X 3 ½” for card front, 4” x 1” for die cut
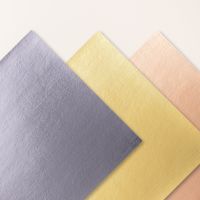
Textured Metallic (Gold) cardstock: 5 ½” x ¾” for card front; 4” x 1” for “Christmas” die cut, 1” X 1” for ornament collar and hook x 2
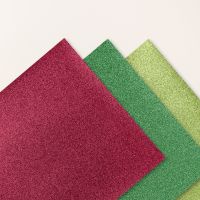
Garden Green Festive Glimmer paper: (2 ¼” x 2”) x 2
Country Woods (medium brown) DSP: 5 ½” x 3” for card front
Instructions:
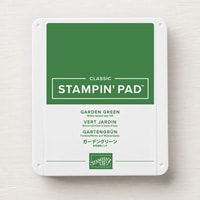
- Stamp the desired sentiment from the Greetings of the Season stamp set in Garden Green ink in the middle of the 5 ½” x 4” piece of Very Vanilla cardstock.
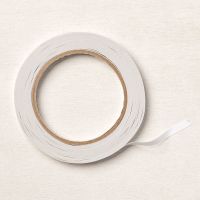
- Use Tear & Tape Adhesive to secure the inside card piece with sentiment to the Garden Green card base.
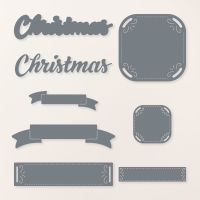
- Using the “Christmas” dies from the Peaceful Seasons die set, cut the top layer of the word (smaller die) in Very Vanilla cardstock and the bottom layer of the word (larger die) in the gold Textured Metallic paper by running them through the Stampin’ Cut & Emboss Machine.
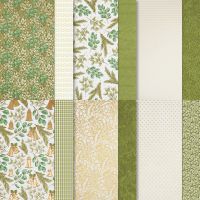
- Next, roughly cut out 3 of the pine boughs from the Season of Green & Gold DSP using Paper snips.
- Using the pine bough die from the Golden Greenery Die set, run the 3 pine boughs through the Stampin’ Cut & Emboss Machine to get an identical polished cut.
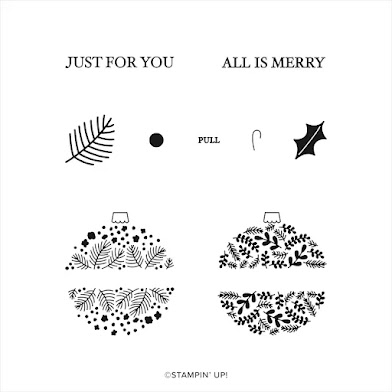
- Using the Versamark pad, stamp one of each ornament design from the Hang An Ornament Stamp Set on to the centre of the Garden Green glimmer paper.
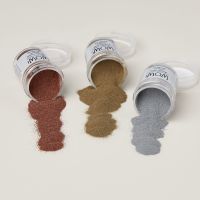
- Next, generously pour the gold Metallic “Wow” Embossing powder over the Versamark ink. Lightly tap the glimmer paper to loosen any remaining powder. (Extra powder can be poured back into the container for later use)
- Next, heat up the embossing powder on the stamped design using the Heat Tool. (Using the crafting tweezers to hold the corner of the glimmer paper while using the heat tool will save your fingers from burning) Continue passing the heat tool over the design until the image changes from the powder and takes on a shiny metallic sheen.
- Using the Hang An Ornament Die Set, cut out the gold embossed ornaments.
- Use the Gold Textured Metallic paper and the ornament collar and ornament hook dies to cut out two of each. Adhere the hook to the top of the glimmer paper ornaments with Multipurpose Liquid Glue and follow with the ornament collar.
- Adhere the Country Wood DSP (medium brown wood grain) to the middle of the Very Vanilla cardstock.
- Using a strip of Tear and Tape Adhesive, attach the back of bottom edge of Very Vanilla cardstock to the top of the Gold Textured Metallic strip.
- Layer the Very Vanilla cardstock piece to the center of the card front so that the garden green cardstock can be seen both at the top and bottom of the card and secure with your adhesive of choice.
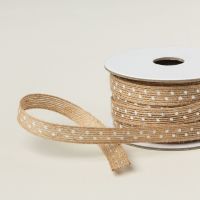
- Using Tear and Tape Adhesive, attach the strip of natural 3/8” polka dot trim to the lower portion of the card front where the Very Vanilla cardstock and the gold textured metallic piece intersect. Wrap the ends of the polka dot trim around the card front and secure to the inside of the card with Tear and Tape Adhesive.
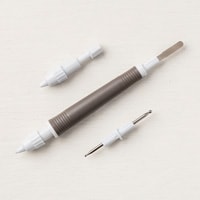
- Place 2 of the die cut pine boughs so they hang down from the top of the card front. Identify a place on each pine bough where the hanging ornament can be placed and still fit on the card front. Pierce a hole in the pine bough using your take your pick tool. Hang your ornament on the pine bough using the hook. Secure to the card front using Stampin’ Dimensionals and trim any extra DSP that hangs over the edge of the card.
- Layer the word “Christmas” by attaching the Very Vanilla cardstock die cut to the top of the gold Textured Metallic die cut. Adhere the remaining pine bough to the back of the Christmas die cut under the letters MAS. Secure to the card front just above the polka dot trim using Stampin’ Dimensionals.
Product List










.jpeg)

.jpeg)


.jpeg)


No comments:
Post a Comment