All images © 1990-2024 Stampin’ Up!®
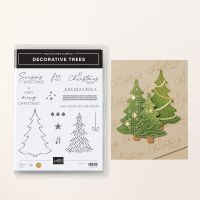
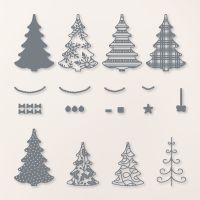
Decorative Trees Dies
Country Woods DSP
Measurements:
Misty Moonlight cardstock: 4” x 11”, 3” x 4”Basic White cardstock: 3” x 4”
Country Woods Designer Paper: 3 ¾” x 5 ½”, 1 ¼” x 3 ¾”
Silver and White Sheer Ribbon Trim: 8”
Instructions:
- Fold card base in half and score.
- Stamp the stars and sentiment three times onto the designer paper using Misty Moonlight ink and adhere the panel to the card front.
- Adhere the smaller piece of DSP to the card front.
- Stamp the sentiment onto the designer paper using Craft White ink. Let dry completely.
- Cut a solid tree from Misty Moonlight cardstock.
- Cut the snowflake decorative tree from Basic White cardstock.
- Adhere the trees together and adhere to the card front using Stampin’ Dimensionals.
- Cut an 8” piece of ribbon in half. Tie the two pieces in a bow and adhere to the tree using a Glue Dot.
- Cut a silver star and adhere to the top of the tree.
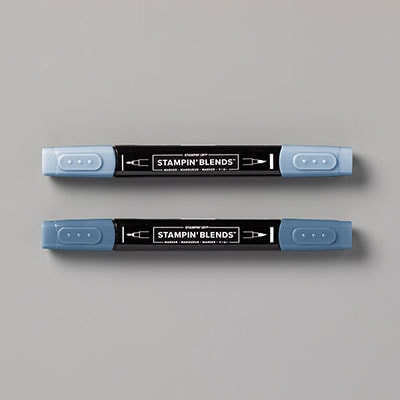
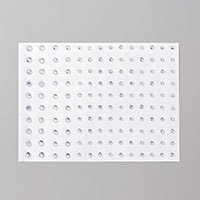
- Color five rhinestones using dark Misty Moonlight Stampin’ Blends.
- Adhere the rhinestones randomly to the card front.
Product List








.jpeg)

.jpeg)


.jpeg)


No comments:
Post a Comment