Discover the art of creating perfect wedding cards with our Two-Step Stampin’ set! Layer your favorite colors to add texture and dimension, crafting a truly unique and heartfelt card.
All images © 1990-2024 Stampin’ Up!®
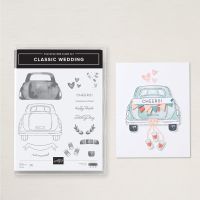
Classic Wedding Photopolymer Stamp Set
Measurements:
Thick Basic White cardstock: 8 1/2 ” x 5 1/2”
Basic White cardstock: 5 ¼” x 4” (2)
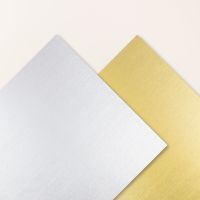
Brushed Silver Foil: ¾” x 4”
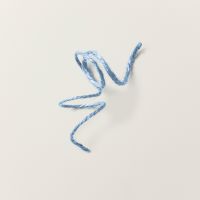
Moody Mauve Jute Twine: 10" approx.
Basic White cardstock: 5 ¼” x 4” (2)
Brushed Silver Foil: ¾” x 4”
Moody Mauve Jute Twine: 10" approx.
Instructions:
- Fold Thick Basic White Cake cardstock in half to form a card base.
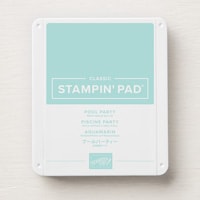
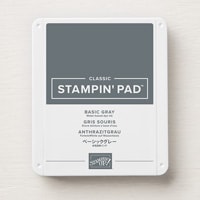
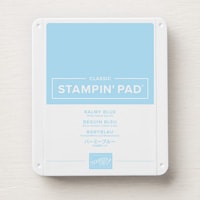
- Stamp the car's outline with Memento Black Ink on one of the Basic White cardstock pieces, Stamp the inside with Pool Party ink, the truck windows in Balmy Blue ink that you stamp off first, and the tires with Basic Gray ink.
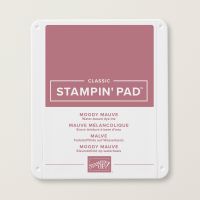
- On the same paper stamp the banner with Memento Black Ink. Stamp the words 'Just Married' in Moody Mauve ink inside the banner.
- Cut out the Car and Banner with matching Classic Wedding Dies.
- Die-cut the rear bumper out of the Silver Foil and adhere to the back of the car with Multipurpose Liquid Glue.
- Pop up the wedding banner with Stampin' Dimensionals and adhere to the back of the car.
- Pop up the Car with Stampin’ Dimensionals and adhere to the center of the second piece of Basic White cardstock.
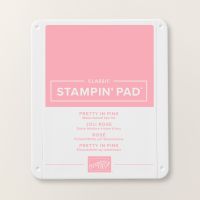
- Stamp the cans in Moody Mauve under the car and above the car stamp the hearts in Pretty InPink and the greetings in Moody Mauve.
- Unwind the Moody Mauve Jute into 3 pieces. Tie one into a bow and adhere to the bumper with a mini glue dot add a third piece to attach to 3rd can. Attach each end to a can with a glue dot
- Stamp the inside and envelope to match.









.jpeg)

.jpeg)


.jpeg)


No comments:
Post a Comment