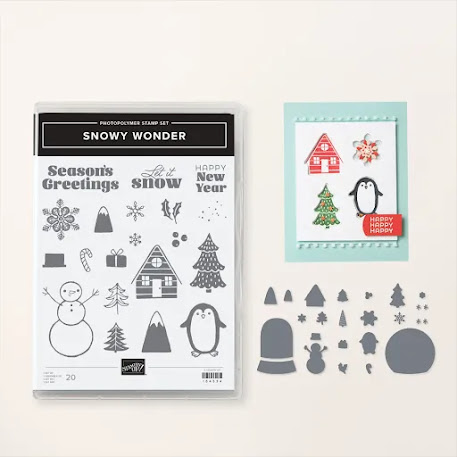
Have fun creating winter scenes and paper snow globes with the Snowy Wonder Bundle! Add depth to your card making by playing with how you layer the snow globe dies. Plus, every image and sentiment stamp fits inside the snow globe die for simple crafting.
Send greetings of the season with the Snowy Wonder Stamp Set! The penguin, snowman, cabin, and pine tree images are styled to help you effortlessly create whimsical winter scenes. The images are sized for card fronts and gift tags.
Snowy Wonder Bundle
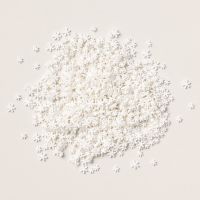
White Loose Snowflakes
Measurements:
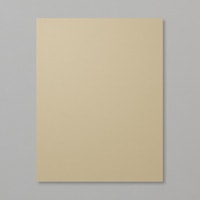
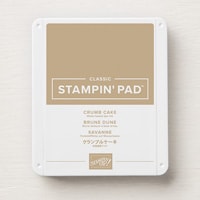
Crumb Cake cardstock: 5 1/2” x 8 1/2” scored at 4 1/4”Basic White cardstock: 5 ½” x 8 ½”
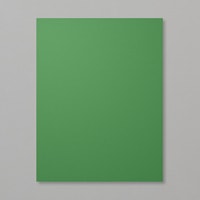
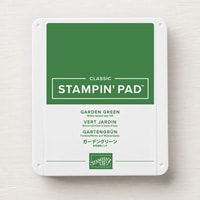
Garden Green cardstock: ½” x 1 ½”
Linen Thread: 8” approx.
Instructions:
- Using Crumb Cake ink, stamp speckle images across the center front of the Crumb Cake card base.
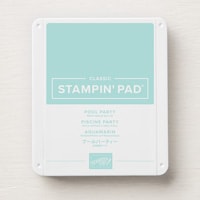
- Using the large circle die from the Stylish Shapes Dies, die cut a circle from the Basic White cardstock close to an edge. Stamp Mountain images towards the top of the circle piece using Pool Party ink, then adhere to the front of the card base over the speckled images.
- Die cut a triangular tree from the Garden Green cardstock.
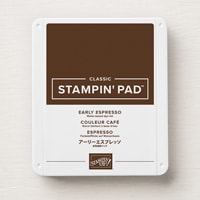
- Stamp a variety of trees using Garden Green ink onto the remaining Basic White cardstock; stamp some with the “stamp off” method to get varying shades of green. Then stamp a cabin using Early Espresso ink and the sentiment using Crumb Cake ink.
- Die cut the trees and cabin using the Snowy Wonder Dies and fussy cut the sentiment. Then adhere the trees and cabin inside the circle die in layers, with the top most pieces using Stampin’ Dimensionals.
- Tie a bow with the Linen Thread, attach it to the back of the sentiment, and the sentiment/bow piece to the front using Stampin’ Dimensionals.
- Attach a few White Loose Snowflakes using the Fine Tip Glue Pen.
Product List








.jpeg)

.jpeg)


.jpeg)


No comments:
Post a Comment