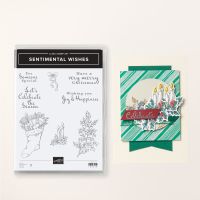
If your holiday traditions include crafting, start with the Sentimental Wishes Stamp Set! The traditional images and sentiments in a vintage-mood font add instant nostalgia to your Christmas cards and gift tags. The candles, wreaths, holly and berries, and bow are designed to be coloured so you can create what you want in the colours you want.
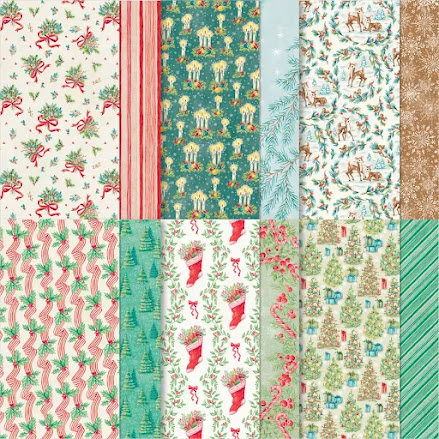
This festive patterned paper is filled with traditional holiday images: holly and berries, candles, snowflakes, candy canes, Christmas trees, and more! Fussy cut individual elements for quick accents. Or cut the lantern and candy cane paper into six pieces to make quick card fronts.
All images © 1990-2024 Stampin’ Up!®
Sentimental Wishes Stamp Set
Sentimental Christmas DSP
Measurements:
Poppy Parade cardstock: 8 1/2” x 5 1/2”Basic Beige cardstock: 5 3/8” x 4 3/16”, 2 ¾” x 1 ¼”
Shaded Spruce cardstock: 2 5/8” x 1 ½”
Sentimental Christmas DSP: 5 5/16” x 4”, 2 ¾” x 1 7/16”
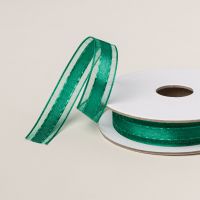
Shaded Spruce 1/2" Satin & Sheer Ribbon: 6”, 5 ¾”, 17”
Instructions:
- Fold the Poppy Parade cardstock at 4 ¼”.
- Adhere the larger piece of DSP onto the Basic Beige cardstock. Then the smaller piece onto the Shaded Spruce cardstock.
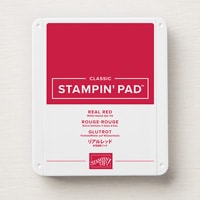
- Stamp the sentiment onto the small Basic Beige cardstock with Real Red Ink then cut it out using the Christmas Labels Dies. Add Stampin' Dimensionals to the back and adhere to the Shaded Spruce cardstock.
- Take the 6” piece of ribbon and adhere to the DSP & Basic Beige cardstock vertically, about 3/4” from the left edge. With the 5 ¾” piece of ribbon, adhere it horizontally about 1 1/4” from the top.
- Place Stampin' Dimensionals on the back of the Basic Beige cardstock and adhere to the card base.
- Take the 17” piece of ribbon and make a double bow. Holding with your middle finger and thumb, wrap it around your index and middle finger twice in a figure 8. Then ‘thread the tail’ in the ‘V’ between the index and middle finger. Pull it up and tuck under itself to secure the bow. Trim the tails then use a cut Dimensional to adhere to the card.
Product List







.jpeg)

.jpeg)


.jpeg)


No comments:
Post a Comment