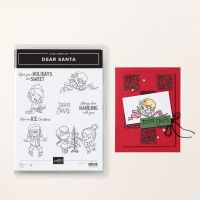
The holiday season is a magical time, especially when seen through the eyes of children. This year, bring that magic to life with the Dear Santa Stamp Set! These stamps are perfect for creating personalized, heartfelt Christmas cards that celebrate the little ones who make the season special.
So gather your coloring tools and let your imagination run wild. This holiday season, create something truly special that will be cherished for years to come. Celebrate the magic of Christmas with cards that are as unique and joyful as the children you love.
Inside of Dear Santa Card
All images © 1990-2021 Stampin’ Up!®
Measurements:
Garden Green cardstock: 5 ½” x 4 ¼”
Real Red cardstock: 8” x 5 ¼”, scored at 4” on long side
Basic White cardstock: 5” x 3 ¾”, 2 ¾” x 2 ¾”, 2 ¼” x 1”
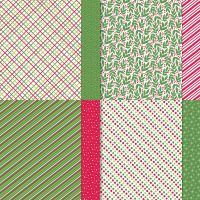
Take a Bow DSP: 3 ¾” x 3 ¾”
Instructions:
- Fold Real Red cardstock on score line.
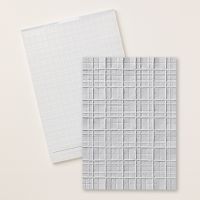
- Emboss the front of this piece using the Forever Plaid 3D Embossing Folder.
- Fold DSP in half - one corner to another to form a triangle.
- Adhere DSP on the back side of the Real Red cardstock – the fold of the Real Red cardstock should be at the bottom, and the top of the triangle is over the top edge of the Real Red card base. Adhere only the back side of DSP triangle to back side of Real Red cardstock. See photo.
- Adhere these to the Garden Green panel, with scored side of the Real Red cardstock at the bottom, as shown.
- Stamp little girl image on square of Basic White cardstock using Memento Black ink.
- Die cut using Stylish Shapes Circle (2 ½”).
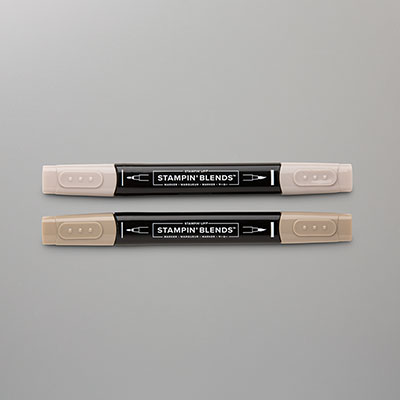
- Color image using the Blends listed below.
- Die cut Garden Green circle using Deckled Circle Die (2 ¾”).
- Adhere white circle to green circle.
- Adhere circles to front of Real Red cardstock using Stampin' Dimensionals. Be careful not to add them in the way of opening and closing the card with the DSP flap at the top.
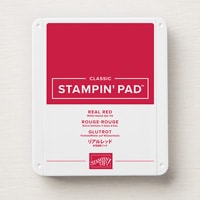
- Stamp Dear Santa on white cardstock strip using Real Red ink.
- Trim right side of strip into a banner shape.
- Adhere under the circles using Stampin' Dimensionals.
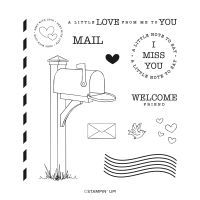
- Stamp the circle stamp using Real Red ink onto the white panel.
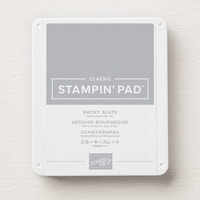
- Stamp small envelope in bottom left corner of this piece using Smoky Slate ink.
- Stamp the post mark lines on top of the red circle, stamping off twice before stamping on white panel. This will make the Smoky Slate ink very light.
- Adhere to inside of card.
Product List






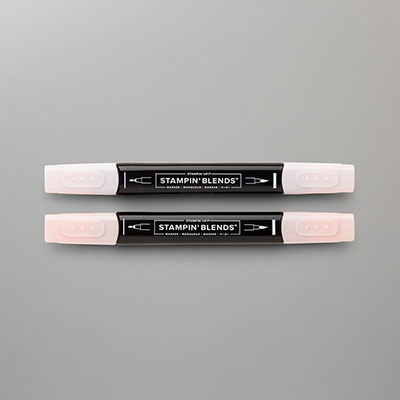
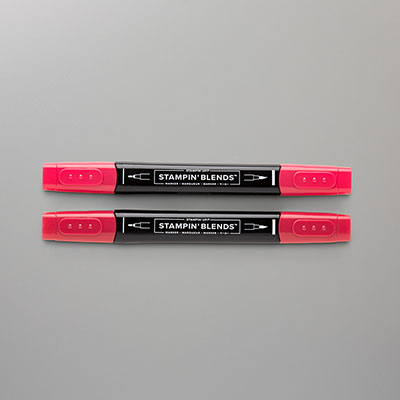
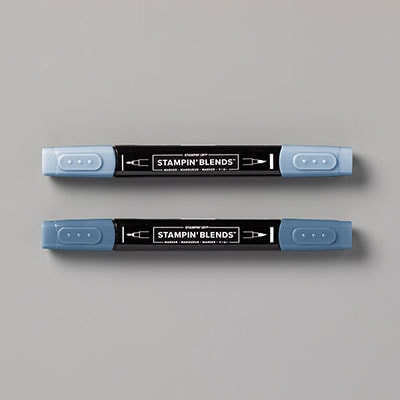
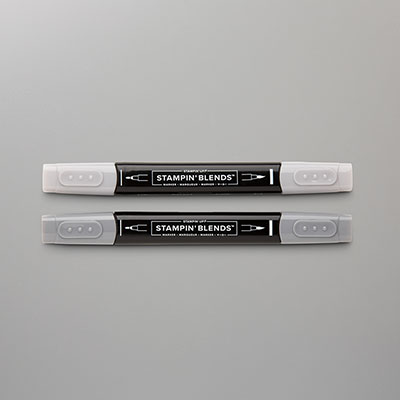


.jpeg)

.jpeg)


.jpeg)


No comments:
Post a Comment