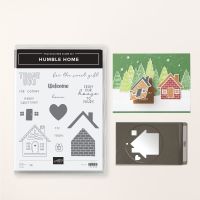
This versatile Humble Home Bundle allows you to create unique and charming home-themed tags and cards that will leave a lasting impression this holiday season. Using the stamp images included in the bundle, you can experiment with various colours and textures to design your own unique homes - maybe a rustic feel or a modern look - the possibilities are endless. Once your stamping is complete, bring your creations to life by cutting them out with the Humble Home Builder Punch.
All images © 1990-2024 Stampin’ Up!®
Humble Home Bundle
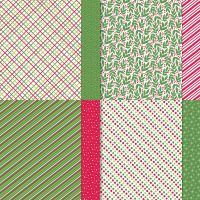
Take A Bow 6" x 6" Designer Series Paper
Measurements:
Real Red cardstock: 5 ½” x 8 ½”; scored at 4 ¼” for the card baseBasic White cardstock: 5 ¼” x 4” for inside; 3 ½” x 3 ½” for background; 3 ½” x 2 ½” for forest; 1 ½” x 1 ½” for sentiment
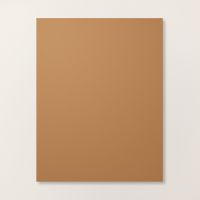
Pecan Pie cardstock: 2 ½” x 2 ½” for house
Take A Bow DSP: 4” x 3 ¾” green background; 2 pieces of 4” x ½” strips
Instructions:
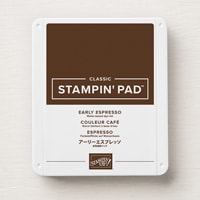
- Stamp the Humble Home stamp in Early Espresso ink on both the Pecan Pie and the Basic White cardstock.
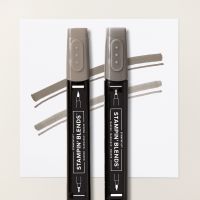
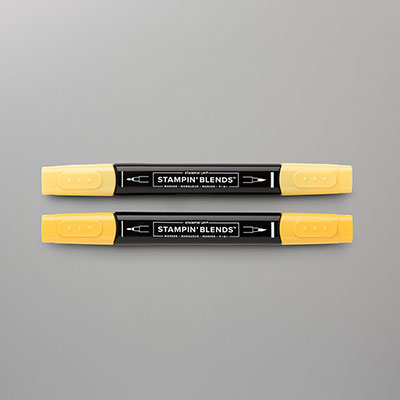
- Using the Stampin’ Blends, colour in the windows of the Humble Home on the Basic White piece in Dark Daffodil Delight and the window trim in Dark Pebbled Path. Colour the roof and the chimney on the Pecan Pie piece in Dark Pebbled Path.
- Use the Humble Home Builder punch to punch out the Pecan Pie house. Using paper snips, cut out the windows and trim only from the house on white cardstock. Use Multipurpose Liquid Glue to adhere the windows to the Pecan Pie home piece.
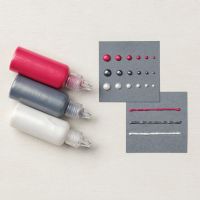
- Using the white Pearlized Enamel Effects Basics, squeeze a small amount from the tip and create icicles along the rooftop and chimney. Set aside to dry.
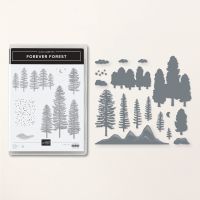
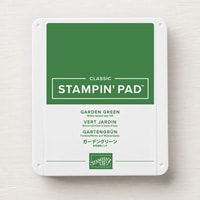
- Using the 3 ½” x 2 ½” Basic White cardstock, stamp the five trees from the Forever Forest stamp set in Garden Green ink. Use the corresponding Forever Forest Die to cut the image out using the Stampin’ Cut & Emboss Machine.
- With the white Pearlized Enamel Effects Basics, squeeze a small amount from the tip and create snow on the boughs of the trees as desired. Also create snow on the boughs of the trees, as desired. Set this piece aside to dry.
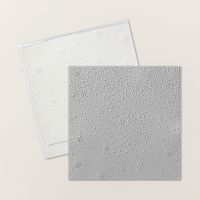
- Place the 3 ½” x 3 ½” piece of Basic White cardstock in the Snowflake Sky 3D Embossing Folder and run it through the Stampin’ Cut & Emboss Machine.
- Stamp “Merry Christmas” in the centre of the 5 ¼” x 4” Basic White cardstock in Real Red ink. Adhere to the inside of the Real Red card base using your preferred adhesive.
- Centre and adhere the 3 ¾” x 4” green Take a Bow DSP piece onto the card front.
- Adhere the embossed white piece on top of the green DSP.
- Adhere the ½” x 4” strips of lattice Take a Bow DSP on either side of the green DSP.
- Stamp “From Our House to Yours” in Real Red ink on the 1 ½” x 1 ½” piece of Basic White cardstock Cut around the sentiment using paper snips. Use 2 Stampin’ Dimensionals on the back of the sentiment to attach it to the upper right corner of the card front.
- Use two Stampin’ Dimensionals on the back of the treetops and a strip of Tear and Tape adhesive along the bottom to attach the five trees to the centre of the embossed snowy scene.
- Use Stampin’ Dimensionals to attach the Humble Home in front of the forest.
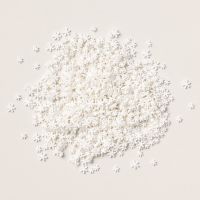
- Use Multipurpose Liquid Glue to attach white loose snowflakes as desired in the sky above the forest!
Product List







.jpeg)

.jpeg)


.jpeg)


No comments:
Post a Comment