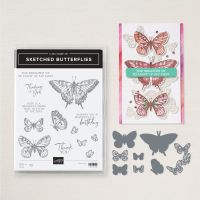
With the Sketched Butterflies Stamp Set, the possibilities are endless. Whether you're a seasoned crafter or a beginner, you'll find that these stamps add a mesmerizing, hand-drawn charm to your projects. So go ahead, let your creativity take flight!
After stamping, consider adding a splash of color using watercolors or markers to bring the butterflies to life or reate depth by layering different butterfly stamps. Use lighter ink for the background butterflies and darker ink for the foreground.
All images © 1990-2024 Stampin’ Up! ®
Sketched Butterflies Bundle
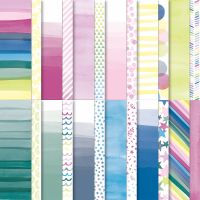
Bright and Beautiful 6" x 6" DSP
Measurements:
Basic White cardstock: 2 ¾” x 5”; 4” x 5 ¼”
Azure Afternoon cardstock: 8 ½” x 5 ½”, score at 4 1/4" then cut off 1" off one of the sidesBright & Beautiful Designer Series Paper: 3” x 5 ¼”
Instructions:
- Adhere the piece of Bright & Beautiful Designer Series Paper to front of the card base.
- Using Tuxedo Black Memento ink, stamp small butterflies onto the smallest piece of Basic White cardstock.
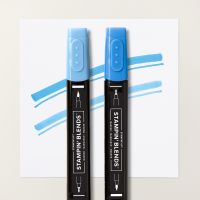
- Color small butterflies with the Light Azure Afternoon Stampin Blends.
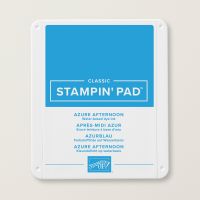
- Using a Blending Brush and Azure Afternoon ink, blend over the small butterflies.
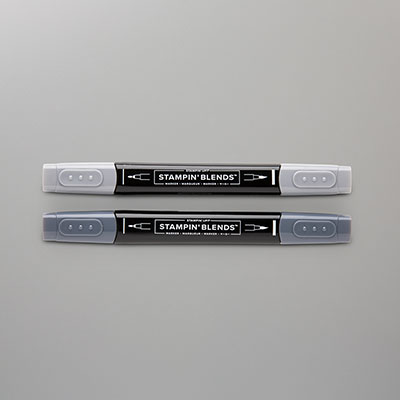
- Using the Azure Afternoon and Basic Black Stampin Blends, flick ink onto small butterflies.
- Adhere this piece to the card front.
- Stamp larger butterflies in Tuxedo Black Memento Ink then die cut with the Sketched Butterflies dies. Color the butterflies with Azure Afternoon light and dark Stampin Blends.
- Adhere large butterflies to the front of the card base as shown. I used Stampin' Dimensionals to pop up.
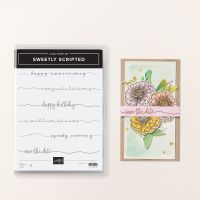
- Stamp the sentiment from Sweetly Scripted stamp set in Tuxedo Black Memento Ink onto the edge of the larger piece of card stock as shown. Adhere this piece to the inside of the card.
You can display and print the tutorial here.
Product List








.jpeg)

.jpeg)


.jpeg)


No comments:
Post a Comment