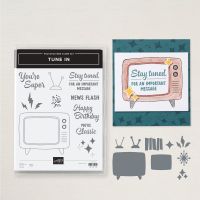
Cozy up with the popcorn and get crafting with the Tune In Bundle! One of the standout features of the Tune In Stamp Set is the ability to create engaging scenes. For instance, you can use the TV screen stamp as the focal point and build a scene within or around it.
Imagine stamping a cozy living room scene with the TV as the centerpiece, or perhaps a fun outdoor setting where the TV is showing a favorite show. Make your projects even more fun by pairing with fun greetings.
All images © 1990-2024 Stampin’ Up!®
Tune In Bundle
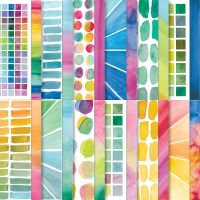
Full of Life Designer Series Paper
Measurements:
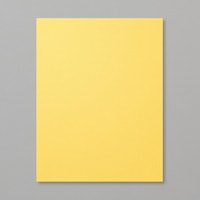
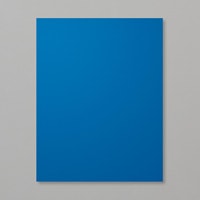
Daffodil Delight cardstock: 5 ½” x 8 ½”, scored at 4 ¼”Blueberry Bushel cardstock: 3” x 3 ½”
Basic Black cardstock: 3 7/8” x 5 1/8” (cut 2); ½” x 5” strip
Basic White cardstock: ½” x 2 ¼”; 3 ¾” x 5”
Full of Life DSP - Stripe Pattern: 2” x 2 ½” (making sure strip is vertical), Starburst Pattern: (See below for how to cut)
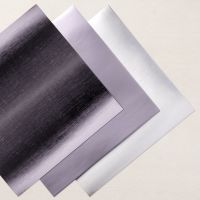
Silver Foil: Scrap for die cuts
Instructions:
- Fold Daffodil Delight piece on score line to create card base.
- Cut 1 1/8” from the top and the bottom of the 6” x 6” Starburst piece so that it measures 3 ¾”
- Cut ½” off both sides to make it measure 5”. Finished piece should be 3 ¾” x 5”.
- Take one of the 1 1/8” x 6” pieces and cut it down to ¾” x 5” for the inside of the card.
- Die cut the antennae out of the centre of one of the Basic Black pieces.
- Attach the Starburst piece to one of the Basic Black pieces and then to the front of the card.
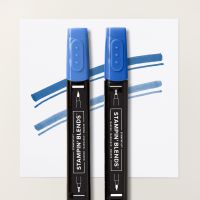
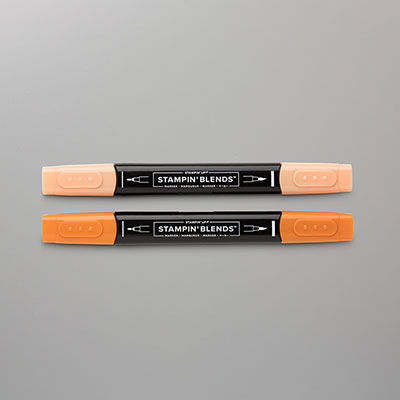
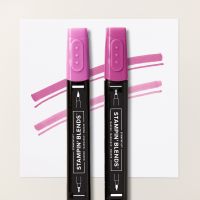
- Die cut the star trio and TV knobs from the Silver Foil. Color the stars using the Berry Burst (light), Blueberry Bushel (dark) and Pumpkin Pie (dark) Blends.
- Using Tuxedo Memento Black ink, stamp the television and die cut both the outside and inside panels.
- Attach the striped DSP to the television.
- Using Tuxedo Memento Black ink, stamp NEWS FLASH on the ½” x 2 ¼” Basic White piece. Trim the ends in a banner and attach to television using Stampin' Dimensionals.
- Attach the antennae to the back of the television using Multipurpose Liquid Glue.
- Attach the television to the front of the card using Stampin' Dimensionals.
- Attach the knobs using Multipurpose Liquid Glue and the stars using Stampin' Dimensionals.
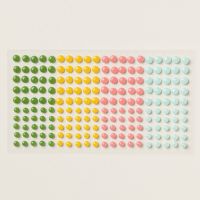
- Attach two Dots for Days to the knobs.
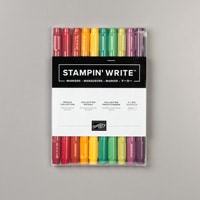
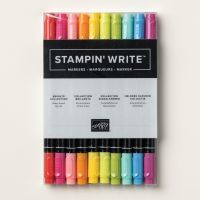
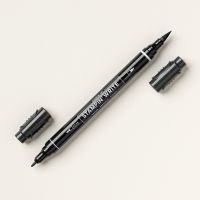
- Using Tuxedo Memento Black ink, stamp HAPPY BIRTHDAY on the 3 ¾” x 5” Basic White piece. Color the starburst stamp using Stampin’ Write Markers (Crushed Curry, Melon Mambo, Granny Apple Green and Basic Black) and stamp next to the sentiment.
- Attach the Basic Black strip to the ¾” x 5” Starburst DSP piece and attach to Basic White piece. Attach that to the other Basic Black piece and then to the inside of the card.
You can display and print the tutorial here:







.jpeg)

.jpeg)


.jpeg)


No comments:
Post a Comment