The Sweet Peas Stamp Set features a variety of cute images that are perfect for a range of occasions. Whether you’re creating a card to welcome a new baby, expressing gratitude, or sending birthday wishes, these stamps have got you covered. The charming designs are sure to bring smiles to anyone who receives your handmade creations.
Grab your favorite colouring tools—be it markers, watercolours, or coloured pencils—and bring these adorable images to life. The smaller designs are ideal for fitting onto die-cut shapes or labels, making layering on a card front a breeze.
All images © 1990-2024 Stampin’ Up! ®
Sweet Peas Stamp Set
Measurements:
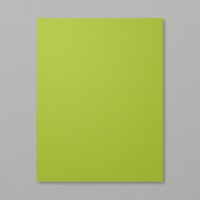
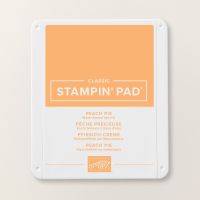
Peach Pie cardstock: 8 1/2” x 5 1/2”Granny Apple Green cardstock: 5 ¼” x 4”
Basic White cardstock: 5” x 3 ¾” (2) scrap
Instructions:
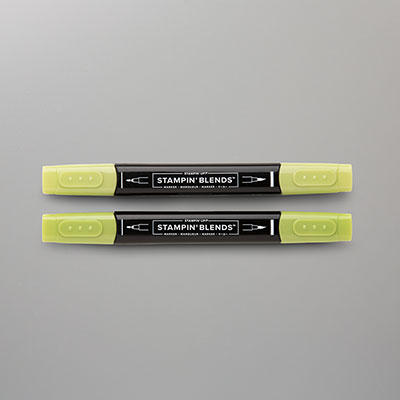
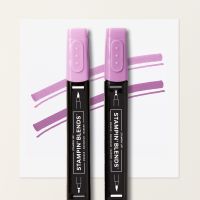
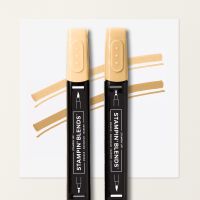
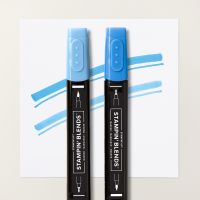
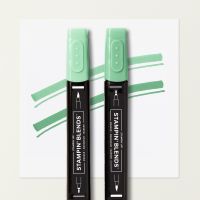
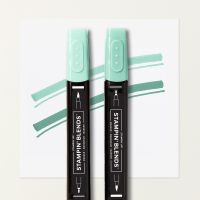
- Stamp the Birthday Pea onto a scrap of Basic White cardstock. Color with Blends and cut out with Paper Snips. Set Aside.
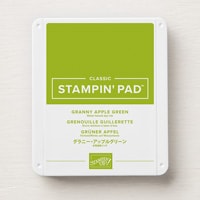
- Stamp 'HaPEA Birthday' on the lower right corner of one of the pieces of Basic White cardstock with Granny Apple Green ink. Stamp the smaller of the two leaves with Granny Apple Green ink, stamped off next to the greeting.
- Pop up the Pea you cut out earlier with a Stampin’ Dimensional. Place on your card as shown and stamp the confetti in Peach Pie ink so it looks like it is coming out of the blower.
- Fold your Peach Pie cardstock in half to form a card base. Adhere to the Granny Apply Green piece then the Basic White piece you just stamped.
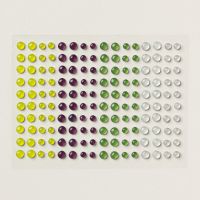
- Add 3 of the green embellishments from the Transparent Adhesive-Backed Dots.
- Stamp the birthday Pea Pod on the inside piece of Basic White cardstock and color as desired with the Stampin’ Blends. Adhere to the inside of your card.
You can display and print the tutorial here.
Product List









.jpeg)

.jpeg)


.jpeg)


No comments:
Post a Comment