

There are so many heartfelt greetings and nautical designs to discover. In the Seaside Wishes stamp set, you’ll find sea glass, sand dollars, and starfish imagery, along with heartfelt sentiments. This bundle also includes the hybrid embossing folder with different size sand dollars.
All images © 1990-2024 Stampin’ Up!®

Basic Beige card stock: 3¾” x 3¾” (x 2), scrap
Basic White card stock: scrap
Seaside Wishes Bundle

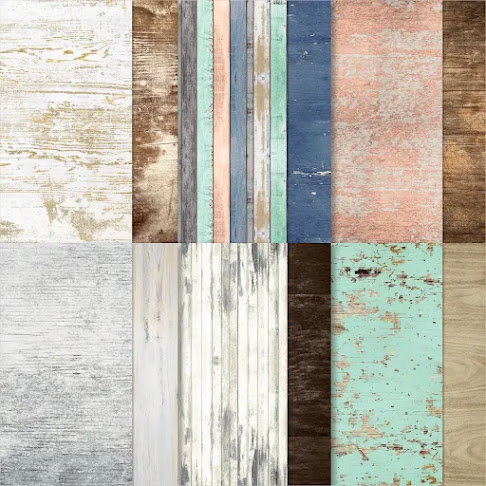
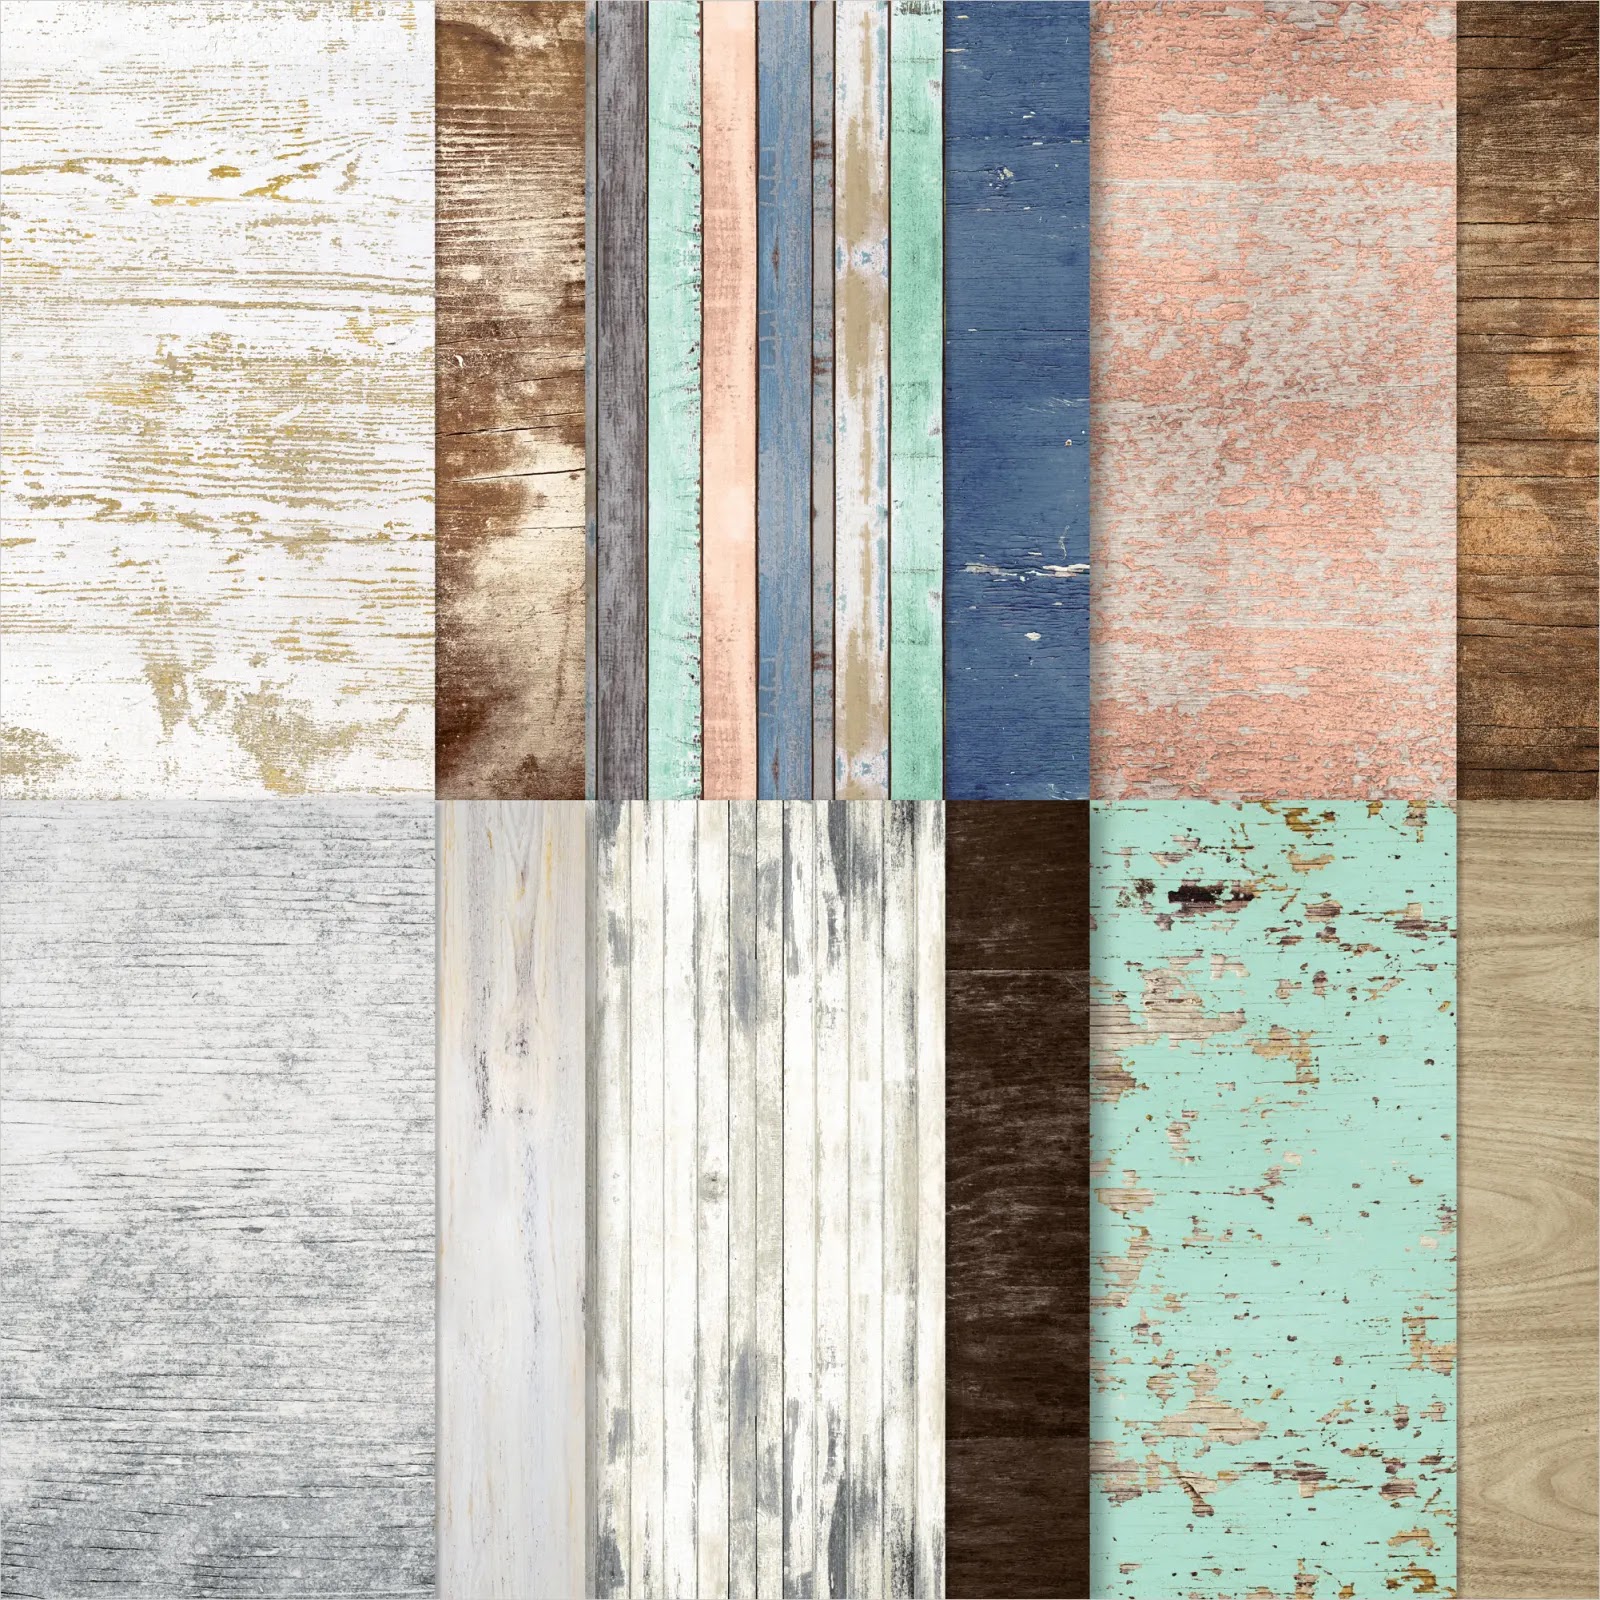
Country Woods Designer Series Paper
Measurements:
Summer Splash card stock: 9½” x 4”, scored at 4”, scrapBasic Beige card stock: 3¾” x 3¾” (x 2), scrap
Basic White card stock: scrap
Country Woods DSP: (Blue piece) 3¾” x 3¾”, (Wood plank) 3¾” x 1¼”
Instructions:
- Score the Summer Splash card stock at 4”, then score the 4” x 4” flap diagonally.
- Cut one piece of Basic Beige card stock diagonally. Stamp the sand in Crumb Cake ink then adhere to either side of the diagonal scoreline.
- Cut the blue piece of Country Woods DSP diagonally. Tear the DSP to expose the white. Adhere to either side of the diagonal scoreline, over the stamped Basic Beige card stock.
- On Basic Beige card stock scrap, stamp the sand dollar in Crumb Cake ink and stamp the large and small starfish in Pecan Pie ink. Die cut all, then emboss the sand dollar. Die cut the other shell from the Basic White card stock scrap. Die cut the seaweed from the Summer Splash card stock.
- Adhere the shell, the seaweed and sand dollar to the lower half of the diagonal scoreline. Add the large starfish with a mini Stampin’ Dimensional.
- Stamp the sand on the second piece of Basic Beige card stock with Crumb Cake ink and add your sentiment in Pecan Pie ink. Adhere to the inside, along the left side. Adhere the strip of Country Woods DSP along the right side.
- Add the small starfish using a Mini Stampin’ Dimensional so that it will prop the diagonal flap up.
You can display and print the tutorial here:
Product List
") |  |  |  | ||
 |  |  |  |

 Designer Series Paper")


.jpeg)

.jpeg)


.jpeg)


No comments:
Post a Comment