All images © 1990-2024 Stampin’ Up!®
Attention Shoppers Bundle
Measurements:
Basic White Thick cardstock: 8 1/2” x 5 1/2”, score at 4 1/4”
Basic Black cardstock: 3 3/4” x 5”
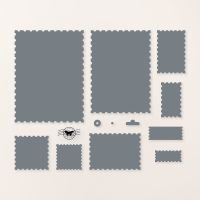
Basic White cardstock: 4 1/4” x 5 1/2” and die cut the following using the Perennial Postage Dies: 2 1/8” x 2 7/8”, 1 5/8” x 2 1/2”, 2” x 2”, 1 1/2” x 1 1/2” and 1 1/2” x 3/4”
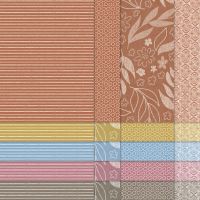
2023-2025 In Color 6" x 6" Designer Series Paper: scrap for shopping bag
Product List
Basic Black cardstock: 3 3/4” x 5”
Basic White cardstock: 4 1/4” x 5 1/2” and die cut the following using the Perennial Postage Dies: 2 1/8” x 2 7/8”, 1 5/8” x 2 1/2”, 2” x 2”, 1 1/2” x 1 1/2” and 1 1/2” x 3/4”
2023-2025 In Color 6" x 6" Designer Series Paper: scrap for shopping bag
Instructions:
- On Basic White cardstock, stamp, color, and die cut the cake, plant, and wine bottle. Stamp and die cut the bag, once from Basic White cardstock, and again from the DSP. Trim away the tissue paper and the handles from the DSP bag and attach to the white bag. Color in the handles.
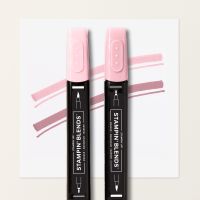
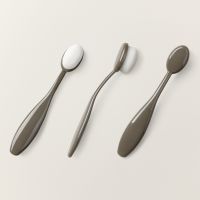
- Mask off the edges of the Perennial Postage dies with Post-It Notes, masking tape, or washi tape and, using the Small Blending Brushes, lightly sponge them with Pretty Pink ink.
- Stamp the sentiment onto the larger square with Tuxedo Black Memento ink.
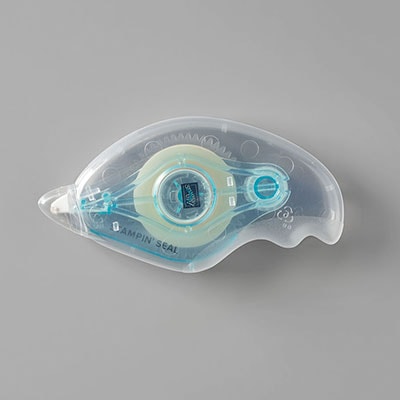
- Attach the die cut rectangles to the Basic Black cardstock with Stampin’ Seal, and attach this panel to the card base.
- Attach the die cut images to the card base with Stampin' Dimensionals, tucking the wine bottles behind the bag.
- Die cut two black hearts from the Friends for Life Dies, and attach to the remaining small rectangle.
- Use the Fine Tip Glue Pen to create a glossy layer over the cake frosting, the leaves, and the wine bottles, and the hearts. Set aside to dry.
- Once glue is dry, make a small bow with Linen Thread, and attach to the plant with a Mini Glue Dot.
You can display and print the tutorial here:









.jpeg)

.jpeg)


.jpeg)


No comments:
Post a Comment